Training guide
Snatch Grip Width: How to Find and Check Your Starting Position
Find a practical snatch-grip starting range, then check bar clearance, wrist comfort, overhead stability, and coach feedback before adding load.
Olympic Lifting AI: Coach helps you review a snatch-grip starting position from video. Start with a consistent grip that gives the bar a clear path past your knees and hips, then check overhead comfort, shoulder stability, hand symmetry, and repeatability before you add load. Your best starting width is the narrowest position that lets you complete those checks without forcing your wrists, shoulders, or balance.
The snatch uses a wide grip and a continuous lift from the floor to an overhead squat position. The International Weightlifting Federation’s explanation of the lift provides the movement context for your setup, while the IWF equipment page identifies the official equipment framework that applies in governed competition. Read both before you use a competition bar or prepare for an event: IWF explanation of the snatch and IWF equipment information.
A practical way to find your starting width
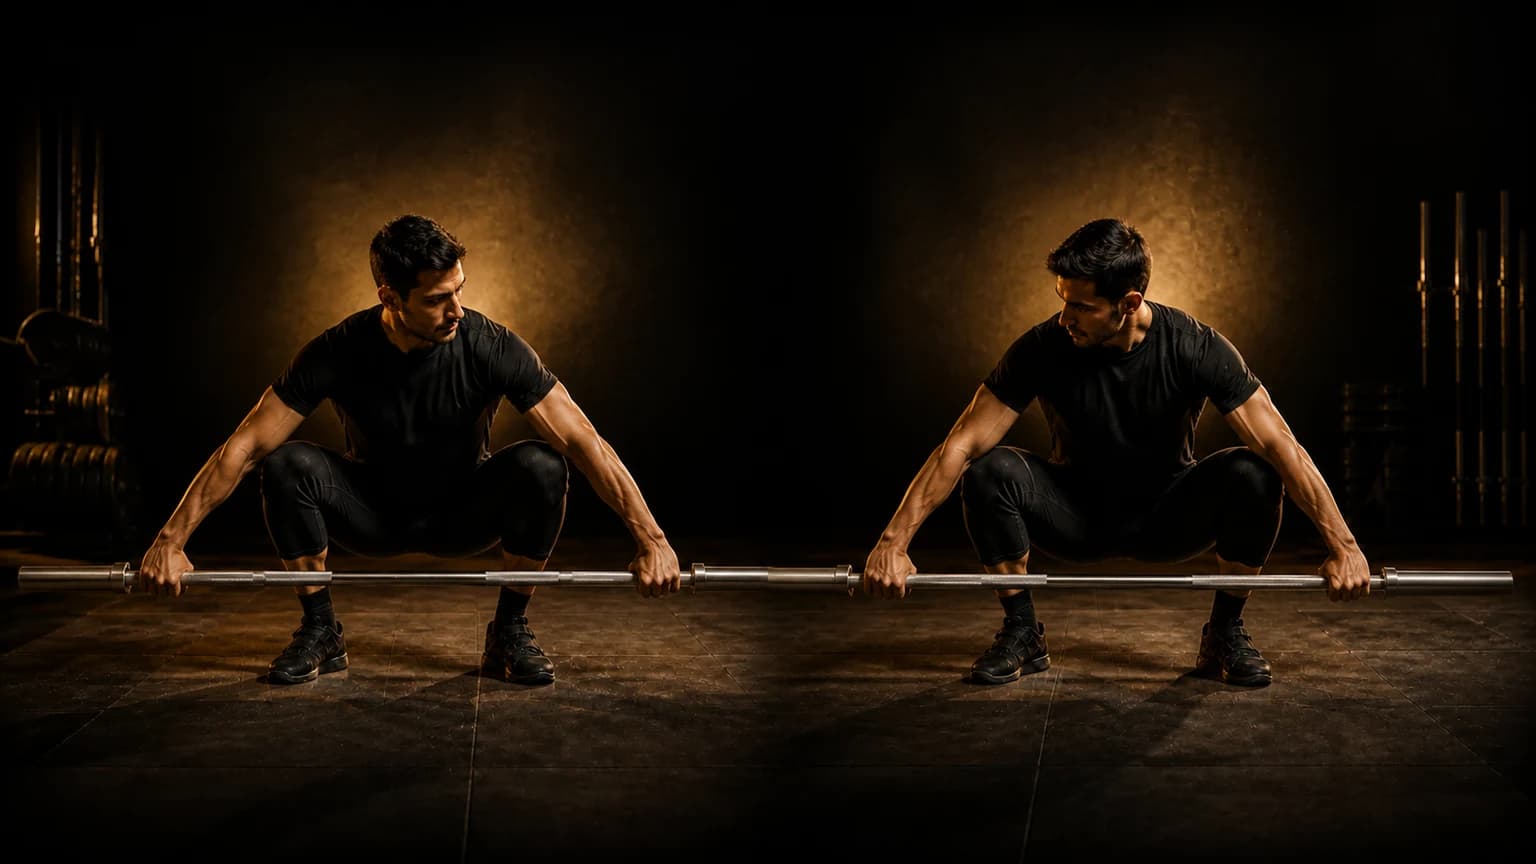
Use a light, unloaded, or very low-load bar. Place your hands evenly, then lower into your start position. Your shoulders should sit slightly in front of the bar, your back should remain organized, and your arms should hang long without forcing the bar away from your body.
Check the bar’s relationship to your hips. You want enough width for the bar to pass the pelvis during the pull without striking the hip too early or forcing you to swing it around the knees. You also need enough space to rotate into a secure overhead position.
Do not search for a magic finger measurement. Arm length, torso length, hip structure, shoulder mobility, wrist tolerance, bar diameter, and technique all affect the useful range. A measurement can give you a starting experiment. It cannot select a safe or technically effective grip by itself.
| Check | Keep the width when... | Narrow or widen only after... |
|---|---|---|
| Hip clearance | The bar travels close without an unwanted collision | You confirm the start position and bar path |
| Overhead position | You can lock out without wrist or shoulder strain | You test the same position with repeated light lifts |
| Balance | You can receive the bar over a stable foot position | You compare the same camera angle and load |
| Symmetry | Both hands match the reference marks | You mark the bar and ask a coach to verify |
| Repeatability | Several attempts look and feel similar | You identify one specific variable to change |
Step-by-step setup check
-
Mark the bar. Use visible, removable reference points so you can return to the same hand placement. Keep both hands symmetrical unless a qualified coach gives you a specific correction.
-
Test the empty position. Set your feet and grip, then lower into the start. Check whether your shoulders, hips, and bar align consistently. Record the setup from the side and from a front or three-quarter angle if possible.
-
Pull slowly. Use a controlled high-pull or muscle-snatch variation that your coach already considers appropriate. Watch for early hip contact, a bar loop around the knees, or a grip so wide that you lose control of the turnover.
-
Receive overhead. Use a light snatch variation or overhead squat only if you can perform it safely. Check whether your wrists stay tolerable, your elbows lock out, and your shoulders support the bar without painful compensation.
-
Repeat before changing. Perform two or three comparable attempts. Change one variable only, such as moving each hand slightly inward or outward. Then repeat under similar conditions.
-
Get in-person confirmation. Ask a qualified weightlifting coach to assess the setup before heavy lifting, maximal attempts, competition preparation, or a major change in technique.
Use the Snatch Grip Width: How to Find and Check Your Starting Position tool to organize your measurement and observations. The tool can provide a structured starting range and help you compare inputs. It cannot see your bar path, assess pain, confirm overhead stability, interpret every body-structure difference, or determine whether a grip meets a specific event’s current requirements.
Topic-specific mistakes
Choosing the widest possible grip
A wider grip can shorten the bar’s vertical travel, but that does not automatically improve your lift. If it causes wrist discomfort, unstable shoulders, poor balance, or an early hip collision, reduce the width and rebuild the position.
Using hip contact as the only test
A bar that touches the hips does not automatically show a good power position. Check the full sequence: start balance, knee clearance, contact timing, extension, turnover, and receiving stability. A grip that creates contact by pulling the bar away from your body can make the rest of the lift less reliable.
Copying another lifter’s hand marks
Another lifter’s proportions and mobility do not define your setup. Treat their grip as a visual reference, not a prescription. Compare your own repeatable bar path and overhead position instead.
Changing width while fatigue changes the lift
Fatigue can alter your start height, shoulder position, timing, and balance. If you change grip width at the same time, you cannot tell which factor affected the result. Test a new width in a fresh, controlled set.
Safety and rules limits
Stop immediately if you feel sharp pain, numbness, dizziness, loss of control, or unsafe pressure. Do not use a calculator or video review to diagnose an injury or justify pushing through symptoms. Seek qualified medical or coaching help.
For competition, verify the current rules and equipment requirements with the relevant federation, promotion, age group, school, or event organizer. Local events and different categories can impose requirements that differ from the IWF material. Do not assume a training-bar setup or gym marking represents approved competition equipment.
After you understand the checks, open Olympic Lifting AI: Coach, film one representative light attempt, and review the earliest visible change in your setup or bar path. Save one observation, apply one cue, and compare the next similar attempt.
Frequently asked questions
Is there one correct snatch-grip width?
No. You need a repeatable width that supports clearance, balance, overhead control, and comfort. Your coach can refine the position for your proportions and goals.
Can the calculator decide my final grip?
No. It can organize inputs and suggest a starting range. Your movement, comfort, equipment, coaching feedback, and event rules decide what you use.
Should I widen the grip if the bar hits my hips?
Not automatically. First check your start position, bar path, timing, and contact point. A wider grip may help one issue while creating another.
Should I test a new grip with a heavy snatch?
No. Start light, repeat the check, and increase load only when your coach considers the position controlled and safe.