Technique
Overhead Squat: Build a Stable Bar-Over-Foot Position
Set your grip, stack the bar over a balanced foot, descend under control, and use video to review an overhead squat without guessing at the cause.
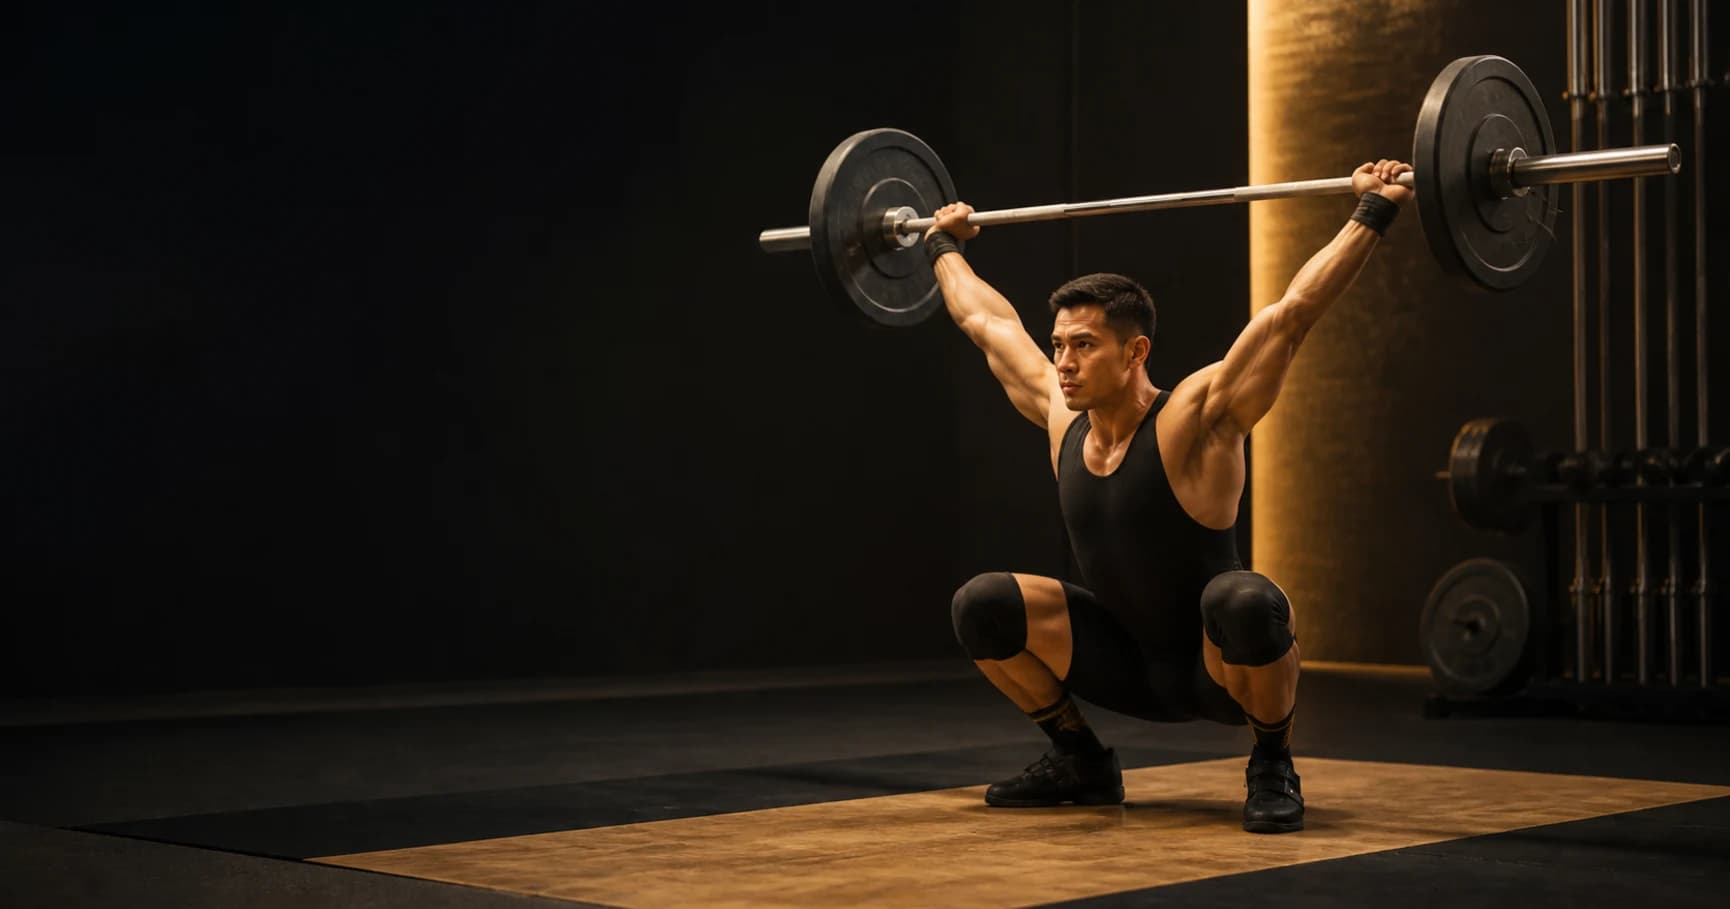
In an overhead squat, hold the bar at locked arms over a balanced base while you descend into a squat and stand without losing the bar forward or behind. For Olympic weightlifting, the exercise gives you time to practise the receiving position used in the snatch. It does not reproduce the speed or entry of a snatch, but it exposes whether you can organize the bar, trunk, hips, knees, and feet in the bottom position.
Start with an empty bar or another load your coach approves. Use a clear platform and agree on how you will drop or return the bar before the set begins. Learn the movement with a qualified weightlifting coach.
The position you need to preserve
The bar and your combined centre of mass must stay over a base you can control. From a side view, the bar should remain close to a vertical line over the middle of the foot. Your exact torso angle, stance, toe angle, grip width, and depth depend on your proportions, mobility, and coaching model.
Use these five checkpoints:
- Whole-foot balance: The heel, base of the big toe, and base of the little toe maintain useful contact.
- Locked elbows: The arms stay straight without a late press from the bottom.
- Active overhead position: You support the bar rather than letting it drift into an uncontrolled end range.
- Knees follow the feet: The knees track in a direction compatible with the stance your coach set.
- Bar remains over the base: You do not chase it forward or behind with steps.
The International Weightlifting Federation's snatch overview describes the competition lift as one continuous movement to locked arms overhead, followed by recovery under control. Use that rule context to understand why a stable overhead position matters. Do not confuse a legal snatch with a training overhead squat. They serve different tasks.
Set up from the rack
Place the hooks so you can unrack the bar without rising onto your toes or folding forward. Take the bar on the upper back with your snatch grip. Step far enough away that the rack cannot interfere if you need to drop the bar.
Set your stance and look straight ahead or slightly down at a fixed point. Brace for the load without exaggerating the ribcage away from the pelvis. Press the bar overhead using the method your coach teaches, then establish balance before you descend.
If you cannot support an empty bar overhead with straight elbows and a controlled trunk, stop. A coach may use a dowel, technique bar, adjusted grip, partial range, or a different drill. Do not force depth under load to prove mobility.
Descend without letting the bar choose the path
Break at the knees and hips while keeping pressure across the whole foot. Let the knees and hips move in the pattern that fits your stance. Keep the bar stacked over the base instead of pushing it forward to counter a backward shift or pulling it behind to counter a forward chest drop.
Move slowly enough to notice the first loss of position. A rushed descent can carry you through a range you do not control. A deliberately slow descent is not the only way to train, but it gives you a useful assessment clip.
Pause only at a depth you can own. Your deepest position is not automatically your best receiving position. If the heels lift, elbows bend, bar travels, or feet roll, return to the last controlled depth.
Stabilize the bottom before you stand
At the bottom, keep the bar fixed relative to the base. Continue pressing into the bar while the torso and legs support the position. Do not bounce lower to find depth after the bar has already moved.
Stand by driving through the floor and keeping the bar over the same base. Watch for a common sequence: the hips rise first, the chest drops, then the bar moves forward. If that sequence appears, reduce the load or depth and ask your coach which constraint to change.
The CrossFit overhead-squat guide notes that holding weight at arm's length raises the system's centre of gravity compared with a regular squat. That helps explain why small bar deviations demand a visible correction. It does not identify the cause of your deviation.
Film two angles for two different questions
Side view
Place the camera at hip height and perpendicular to the lifting area. Keep the plates, bar ends, hands, hips, knees, feet, and platform in frame. Use this angle to review bar position over the foot, torso change, depth, and the order of the ascent.
Front-oblique view
Move the camera outside the plate-bounce area at about 30 to 45 degrees. Use this angle to review foot pressure, knee paths, bar tilt, elbow lockout, and side-to-side movement.
Never put a phone, tripod, or person inside the drop zone. Include the full barbell. A cropped plate can hide bar tilt and lateral drift.
Diagnose the observation, not your body
One visible error can have several explanations. Limited ankle range, grip width, stance, fatigue, load, fear, timing, and the instruction you followed can produce similar clips. Video gives you the sequence. It does not diagnose mobility, anatomy, pain, or tissue limits.
| Visible pattern | First comparison to make |
|---|---|
| Bar moves forward during descent | Compare the first frame of bar travel with the first torso or foot-pressure change |
| Heels lift near the bottom | Reduce depth and check whether whole-foot balance returns |
| Elbows bend in the bottom | Reduce load or depth and re-establish the overhead position before descending |
| One plate sits lower | Use a front-oblique view and check grip spacing, foot position, and lateral shift |
| Hips rise before the chest | Compare a lighter repetition at the same depth |
| You step to save the bar | End the assessment set and review where the bar first left the base |
Avoid labels such as “bad mobility” or “weak core” until a qualified person evaluates the broader context. Those labels often stop useful investigation.
Use regressions that answer one question
Choose a regression because it preserves the task you want to inspect.
- Dowel or technique bar: Check grip, bar line, and depth with minimal load.
- Partial overhead squat: Find the depth where the first position loss begins.
- Pause overhead squat: Test whether you can stabilize a chosen depth without bouncing.
- Overhead squat from blocks or rack: Remove an unnecessary setup constraint.
- Snatch balance: Add a dynamic receiving action after you can organize the overhead squat.
The IWF includes the snatch balance in its preparation exercises for Olympic lifts. Use the snatch balance guide when you need to train the movement under the bar. Use the snatch bar-path guide when the issue appears during the full lift, and review snatch grip width before changing your grip without a clear reason.
A four-step technical block
- Warm up with the movement sequence your coach assigned.
- Record three light overhead squats from one safe angle.
- Identify the first checkpoint that changes, then test one regression or cue.
- Record the same load, depth, and angle again before you decide whether the change helped.
Stop the set if you feel pain, lose control of the bar, or cannot follow your planned drop procedure. A recording cannot clear you for training or replace a coach who can see the full platform and respond in real time.